How to Install a Brother DCP 150C Printer?

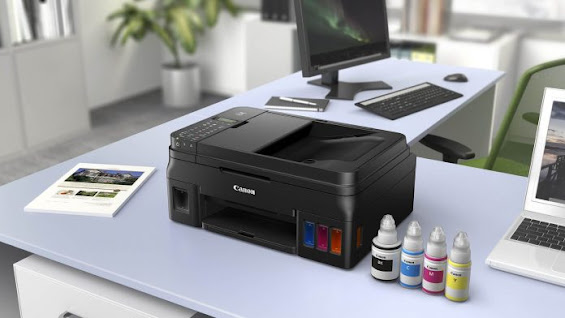
The Brother DCP -150C is an all-in-one multifunction device, with a color copier, scanner, and printer. The DCP-150C also comes with photo editing software to help improve your photos before printing. The unit comes with everything needed to set it up, including ink cartridges, cables, and an installation CD-ROM. After placing the paper and ink cartridges into the unit, then connecting the necessary cables and settings to choose from, the DCP-150C is installed and ready to use.
Instructions
- Remove the plastic wrap and protective tape covering the unit, then remove the ink cartridge bag from sticking to the top of the paper tray.
- Slide the paper tray out of the machine and lift the paper cover. Squeeze the side paper and extension guides and slide them to adjust the size of the sheet of paper you want to use. Make sure the paper is stacked evenly to avoid jams or misprints.
- Insert up to 100 sheets of paper in the tray. Adjust the paper guides again, if necessary, then close the tray cover and slide the paper tray into the machine. Open the paper support flap on the front of the machine.
- Connect the included power cable to the machine, then to a power source. The machine is switched on automatically. Press the “OK” button on the machine, and then use the arrows to choose a language. Press the “Up” arrow to confirm your choice.
- Open the ink cartridge cover, located on the right side of the front of the machine. Pull down the lock release levers and remove the yellow protective part inside. Take the ink cartridge out of its packaging and remove the protective cover on the top.
- Slide the ink cartridge into the corresponding color slot, with the arrow sticker pointing away from you. Lift the lock release levers and press them down until you hear a click. Close the ink cartridge cover.
- Press “Color Start” to perform a quality check. The sheet will be printed using black and colored ink. If the quality and color are satisfactory, press “Yes” three times. Press “Yes” if you want to clean the print head.
- Press “Menu”, then “Initial Setup” and “LCD Contrast”. Use the arrows to adjust the brightness of the screen. Go back to the previous menu and select “Date and Time”. Use the arrows to set the current date and time.
- Insert the installation CD-ROM into the computer. Click “Install MFL -Pro Suite.” The installation takes place automatically. Click “Yes” twice, then “Next”. Connect the USB cable to the machine, then to the computer. Restart your computer and installation is now complete.
Once your printer is properly set up, you should begin the printing process by adding a stack of A4 size paper. If the printer prints, then that means, it was successfully set up and if you come across any issue Brother Printer Paper Jam, then there was some problem with the setup. If you can identify the problem, then that’s great, otherwise, take the help of experts.
If you are facing any issues regarding Brother Printer Drum Error then you can contact us for help.
----------------------------------------------------------
Steps to activate your cash app card with or without using QR code. Need help in cash app card activation than here are some blogs you can click any link get some info.
https://greentrustcashapplication.com/how-to-activate-cash-app-card/
https://mycashappcontact.com/activation-of-the-cash-app-card/
https://autocashapps.com/activate-cash-app-card/
https://cantaccessmycashappaccount.blogspot.com/2020/02/how-to-activate-cash-app-card-fixed.html


Comments
Post a Comment